It’s pumpkin time! And no, I’m not talking about the Latte Which Will Not be Named. (Drink whatever you like, but I am personally not a fan of those. Mint mocha all the way!) No, I’m talking about decorative pumpkins, and specifically crochet ones.

Yes, I do in fact realize it’s still mid-August. But we’re crafters. We all know that if you wait to begin your fall market/gift/decorating prep until fall actually starts, you’ll be way behind. So the end of summer is the perfect time to start on pumpkins!
I often like stashbusting my yarn for this sort of thing, because I get bored only making pumpkins in the “traditional” orange and cream shades. So mine are all kinds of purples and blues and even rainbow sometimes! I’ve also striped some when I was running low on yarn but wanted to use up some partial skeins of leftover yarn. However, in my local Joann, I discovered one of my new favorite yarns:
Big Twist has these gorgeous cakes that to me kind of look like a curated blend of scraps of yarn, called “Freelance”. Many of the colorways are not traditional color combos. A few are, like various shades of blue and I believe there’s one that’s basically black and gray shades. But my favorites are the ones that you would not expect to combine, but work so well together! There’s one with teal and orange. There’s one I nearly bought with greens and browns and a random yellow/gold.
Check out the cuteness in my second finished pumpkin:

I used two different cakes of these for pumpkins and then decided to also try the same idea but with actual scraps, just for fun. So that’s where this came from…once I made three, I figured I might as well write it out for others to enjoy as well! Use the cakes already color-coordinated for you, grab random scraps from your stash, make it all in one color, whatever you’d like to try! I’ve done the first two but now will have to try a solid just because I got that in my head now…
I’ll stop talking now and get to the pattern. I chose to put this one up here for free because it’s probably not the most original idea. I’m sure someone else has done this exact thing before, and that’s ok! This is just my take on it with my chosen hook size and stitch/row counts. Feel free to play around to make whatever size you want with this, or change up the hook size to try this with different yarn weights! I hope you enjoy and your home, like mine, begins to fill up with brightly colored pumpkins.
Free Pattern — Scrappy Pumpkin
Materials You’ll Need:
- 4.5mm hook or size needed to meet gauge (or whatever works with your choice of yarn, giving a dense fabric with mild stretch)
- Approximately 150-180 yards worsted weight yarn. (Samples each used roughly 2/3rds of a cake of Big Twist Freelance)
- Stuffing
- Yarn needle/scissors for assembly
Notes:
- Feel free to play with the yarn weights here, just pay attention to your hook size! You’ll want something that is just a little on the smaller side of what you’d normally use with that weight. Everything I used was medium worsted so I initially had a 5mm hook, but that gave a little bit too much stretch. My 4.5 worked better, or I could have used a G/4mm with a similar success. Just picture filling it generously with stuffing and make sure it won’t gap too much.
- The only size “rule” here is that to maintain the stitch pattern, you’ll need an even number of stitches. Other than that, go nuts on both stitch and row count! Increasing the stitch count (not rows) will give you a taller/skinnier pumpkin, and the opposite (fewer stitches and/or more rows) will make it look shorter and fatter. Experiment to your heart’s content! My actual “scrappy” one was a stitch count of 24 and a row count of about 36 to make it chubbier.
- Because this pattern uses an even number of stitches and always starts with a single crochet then ends with a double crochet, you will always be working into the opposite stitch. (SC will always be into DC and vice-versa.)
- I chose not to crochet a stem for these and instead put in little twigs since I like that look. There are a million alternatives out there you can use–some people do a cinnamon stick for an added scent, or twist brown pipe cleaners for a moldable stem! Or you can play around with yarn to make one in whatever shape you like. If you do a stick, I’ll include when to put that in below. If you’re crocheting one instead, finish the pumpkin assembly and sew on your stem of choice at the end.
Stitches Used:
- SC: single crochet
- DC: double crochet
- Slip stitch
Pattern:
- Ch 31, turn. Skip first chain and SC in next. DC in next. Repeat *SC, DC* across. (30)
- Ch 1, turn. *SC, DC* across.
- Repeat row 2 until your desired row count. Sample used 40 rows.
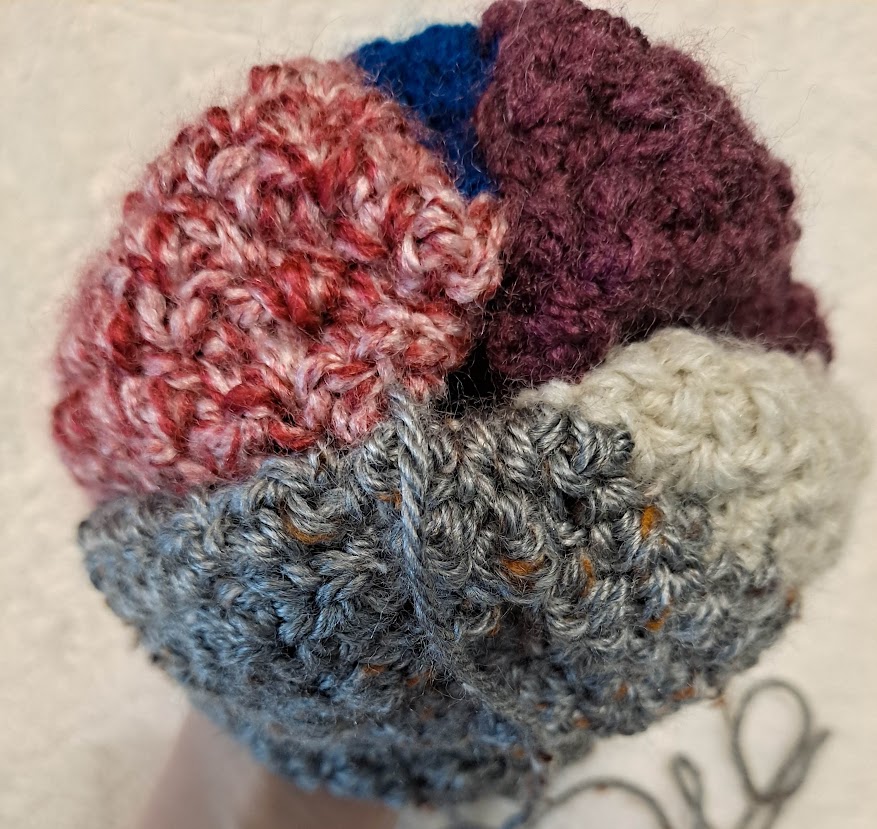
- Fold your panel with your desired RS on the inside. Turn, and slip stitch both layers together across the row. Fasten off and flip right side out.
Your seam on the outside should look something like this:

Sew one end together by weaving a needle in and out of stitches on one end. Secure any remaining hole by sewing back and forth across. (It doesn’t need to look too pretty, it will be the bottom of your pumpkin!)
Stuff the tube as much as you wish. Remember that you will be squashing this down into a pumpkin shape so you don’t need it absolutely firmly packed, but you want it to have a solid squish.
Thread a long piece of yarn (longer than you think) on your needle. Weave through the other side of the tube the same way, and secure the hole the same way. (If you’re inserting a stem rather than attaching it, insert it right as you finish securing the top hole.)
Using the remaining long tail of yarn (after tying a knot to secure the top), pull the yarn around the outside of the pumpkin, such as along your slip stitch seam, and insert the needle up through the bottom. Pull it out of the top again and tug so the yarn gathers the pumpkin down a little bit. I personally like to go along each of these spots twice for extra shaping.

Repeat this as many times as you like! I’ve done lightly shaped pumpkins with only 4 of these lines, or a really lumpy one with more like 7. It all depends on the look you want.
When you’re finished, knot off your yarn and weave in any remaining ends. Put your pumpkin on display and enjoy!

I just love how chaotic these look, and how the colors that shouldn’t work out together just end up so cute! You could totally coordinate them intentionally, but I just like the random fun method instead.
I hope you enjoy this pattern and make a whole pile of cute little pumpkins for your home this fall!
If you’d like to check out my designs, please feel free to look through my Ravelry store! And if you want to see what I’m working on next, follow me on Instagram. I also write monthly crochet pattern reviews over on the EyeLoveKnots blog!
